


Reading a SNES controller using Arduinos
Last winter, I hacked a Pogoplug V4 with this tutorial and installed Arch Linux ARM. The Pogoplug is a very cheap and inexpensive way to set up a home server. I highly recommend it if your server needs are aren't too complex. With this server, I set up a NFS to house all my media. I run XBMC on an Amazon Fire TV and mount the NFS. It works great. One night, I was laying in bed and decided that using the factory remote for the Fire TV was boring. So, I decided I should make my own.
For this post, I'm going to focus on setting up the wireless communcation between the Arduinos. Ultimately, I will put the boards into a SNES controller, but for that I need to learn to solder. In addition, the power draw of the micro is too high to make a sufficient remote. I will need to use a "barebones Arduino" to obtain this efficiency. The latter parts will come in other posts.
Where to start?
Since this was my first crack at electrical engineering, I decided the first thing to do was order a SNES controller online and open it up (I didn't want to use my own for the first round). The inside is quite simple. Each button is attached to a conductive pad that shorts a circuit when the button is pressed.
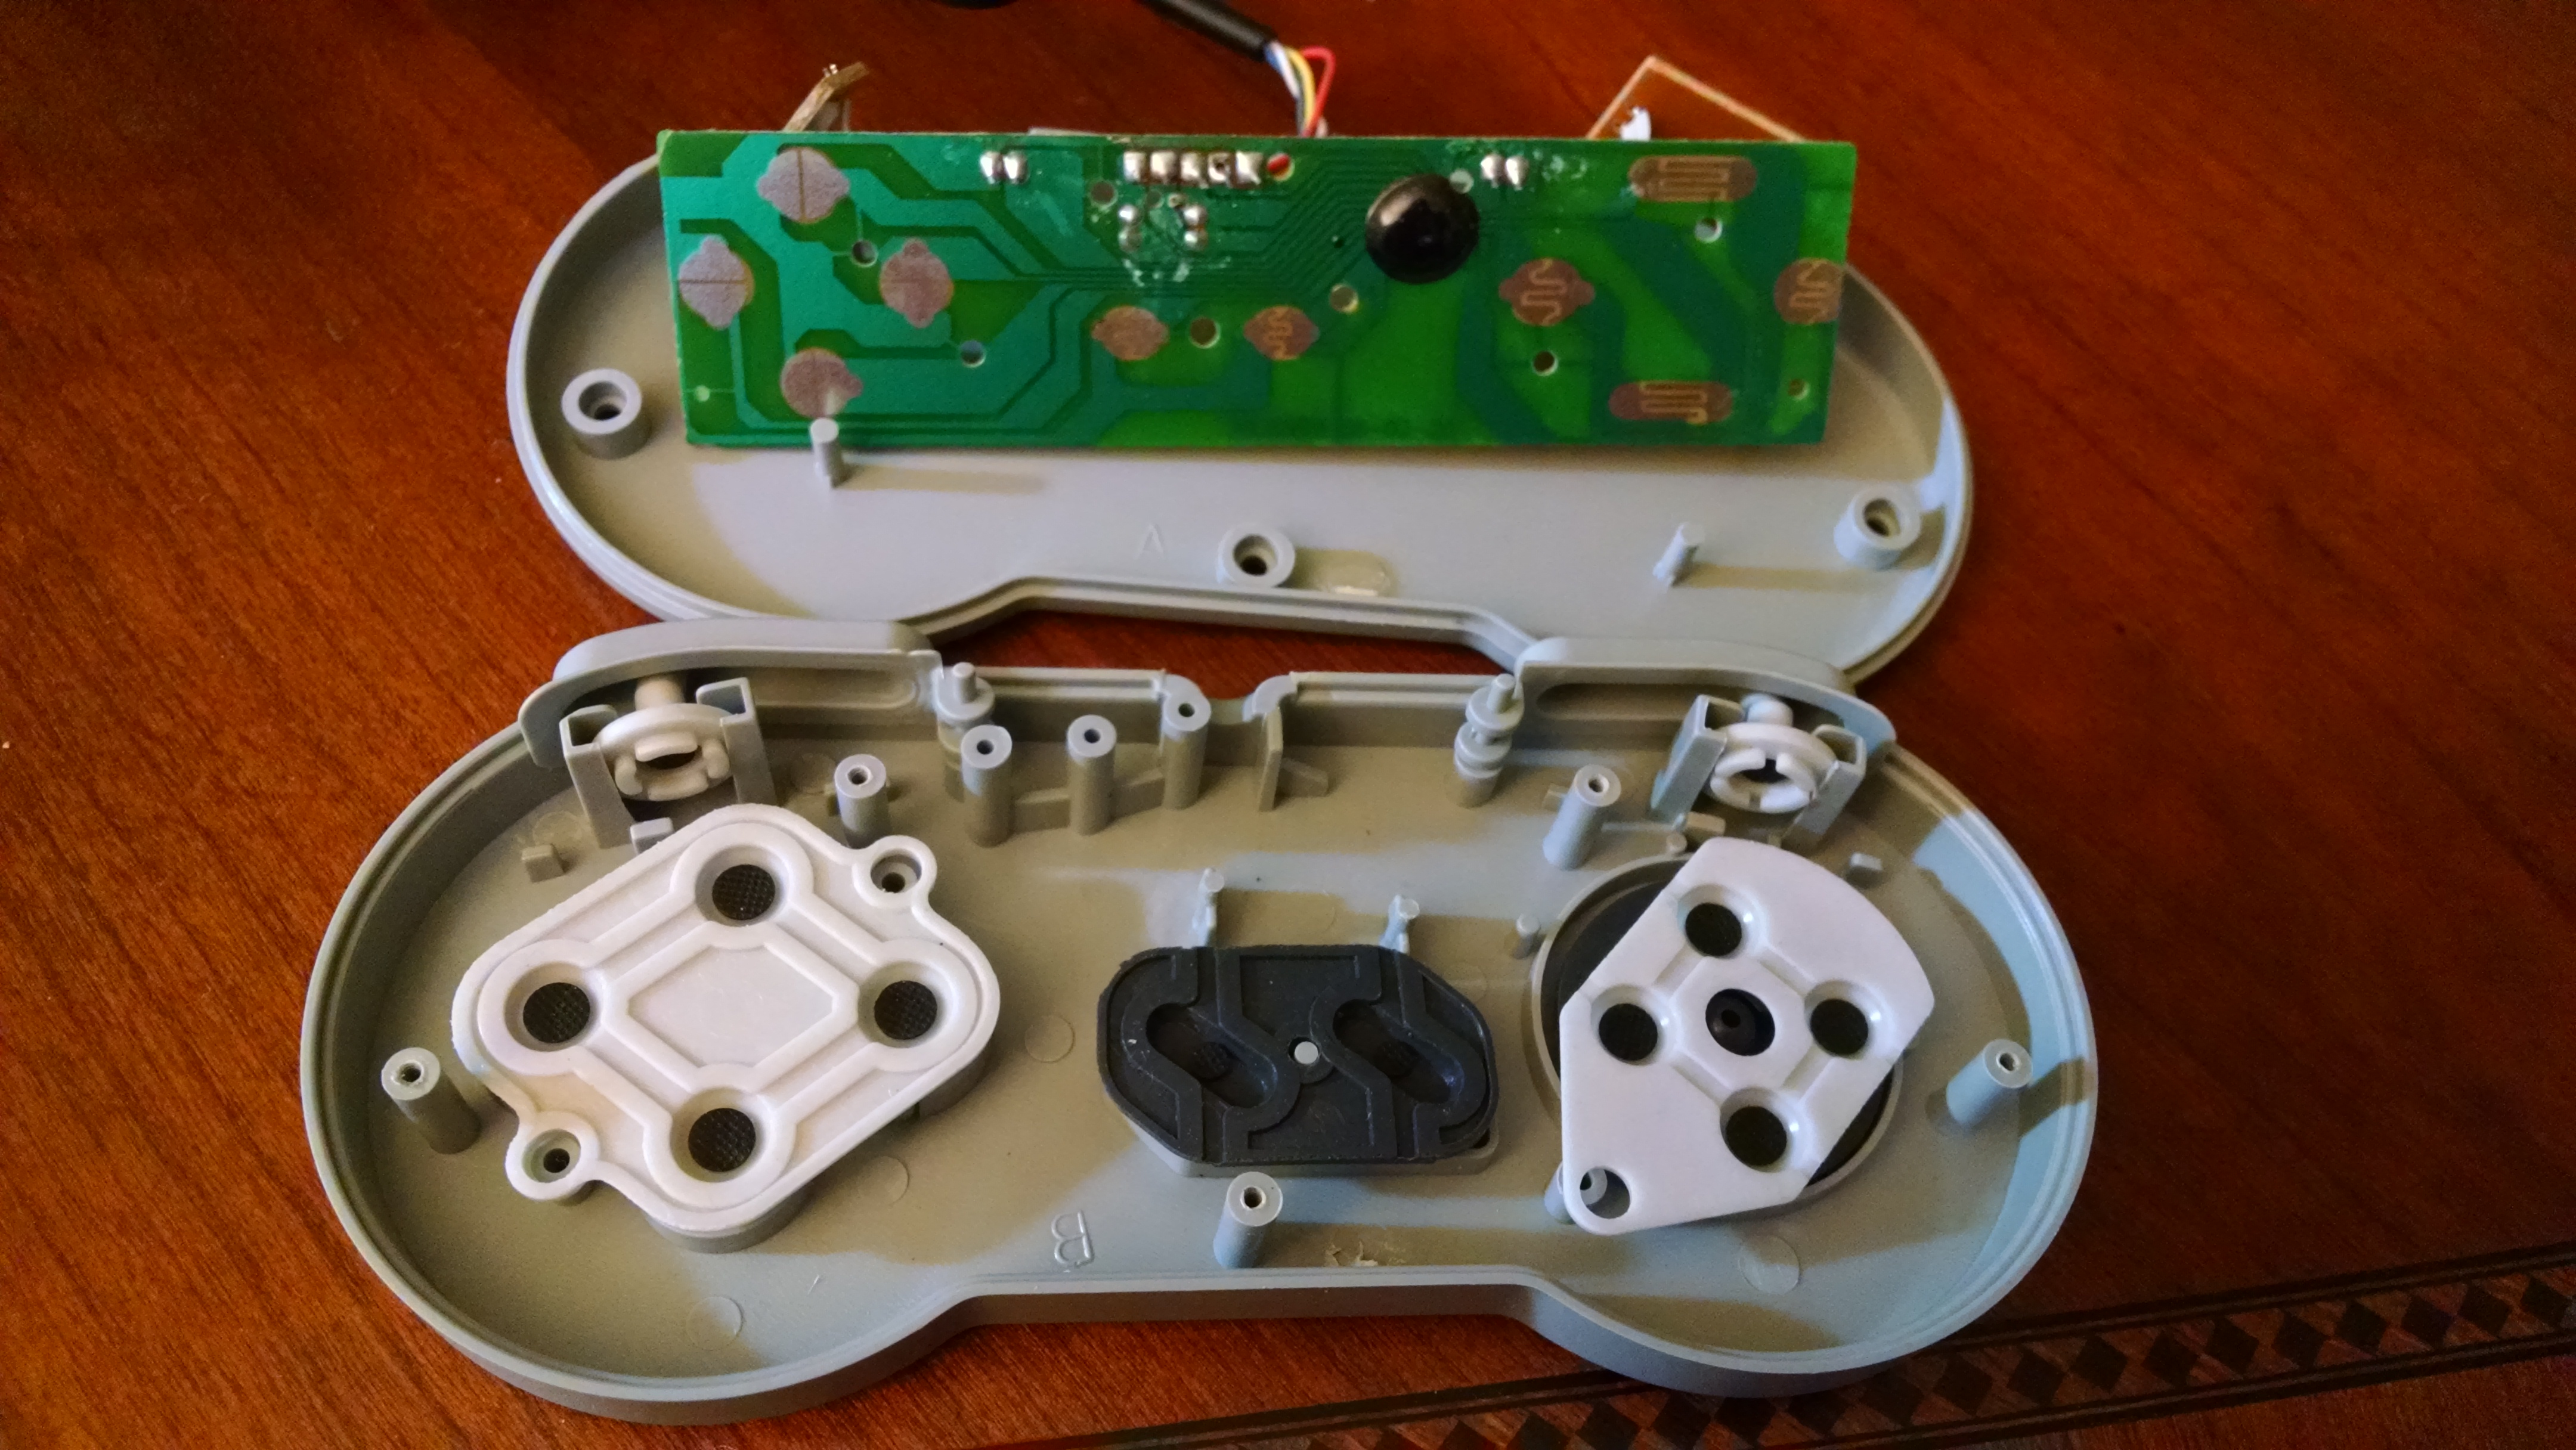
Figure 1: A knock-off SNES controller.
The controller has a parallel-in serial-out shift register that the console uses to read the button inputs. The shift register sends the input from one button at a time and the console has the ability to cycle which button it is reading. All I had to do was connect an Arduino to the shift register and read the input just as if the Arduino was a SNES console. Arduino has a great tutorial on reading multiple button inputs using shift registers.
At this point, I had no hardware or hands-on knowledge of how to complete this project. I spent a lot of time reading about shift registers and watching Youtube tutorials before I bought any tools. Once I felt like I knew the path I needed to take, I started with learning the basics of programming Arduinos.
Learning to use an Arduino
To begin, I picked up a starter kit and followed some of the tutorials. The book that comes with the kit does a great job of walking you through some basic programs. Besides the nice tutorials, another benefit to the starter kit is the plethera of parts that comes with it. If you're like me, and know little about building circuits, it is nice to have all the parts (resistors, LEDs, capacitors, etc.) that come with the kit and not have to worry about finding them on your own.
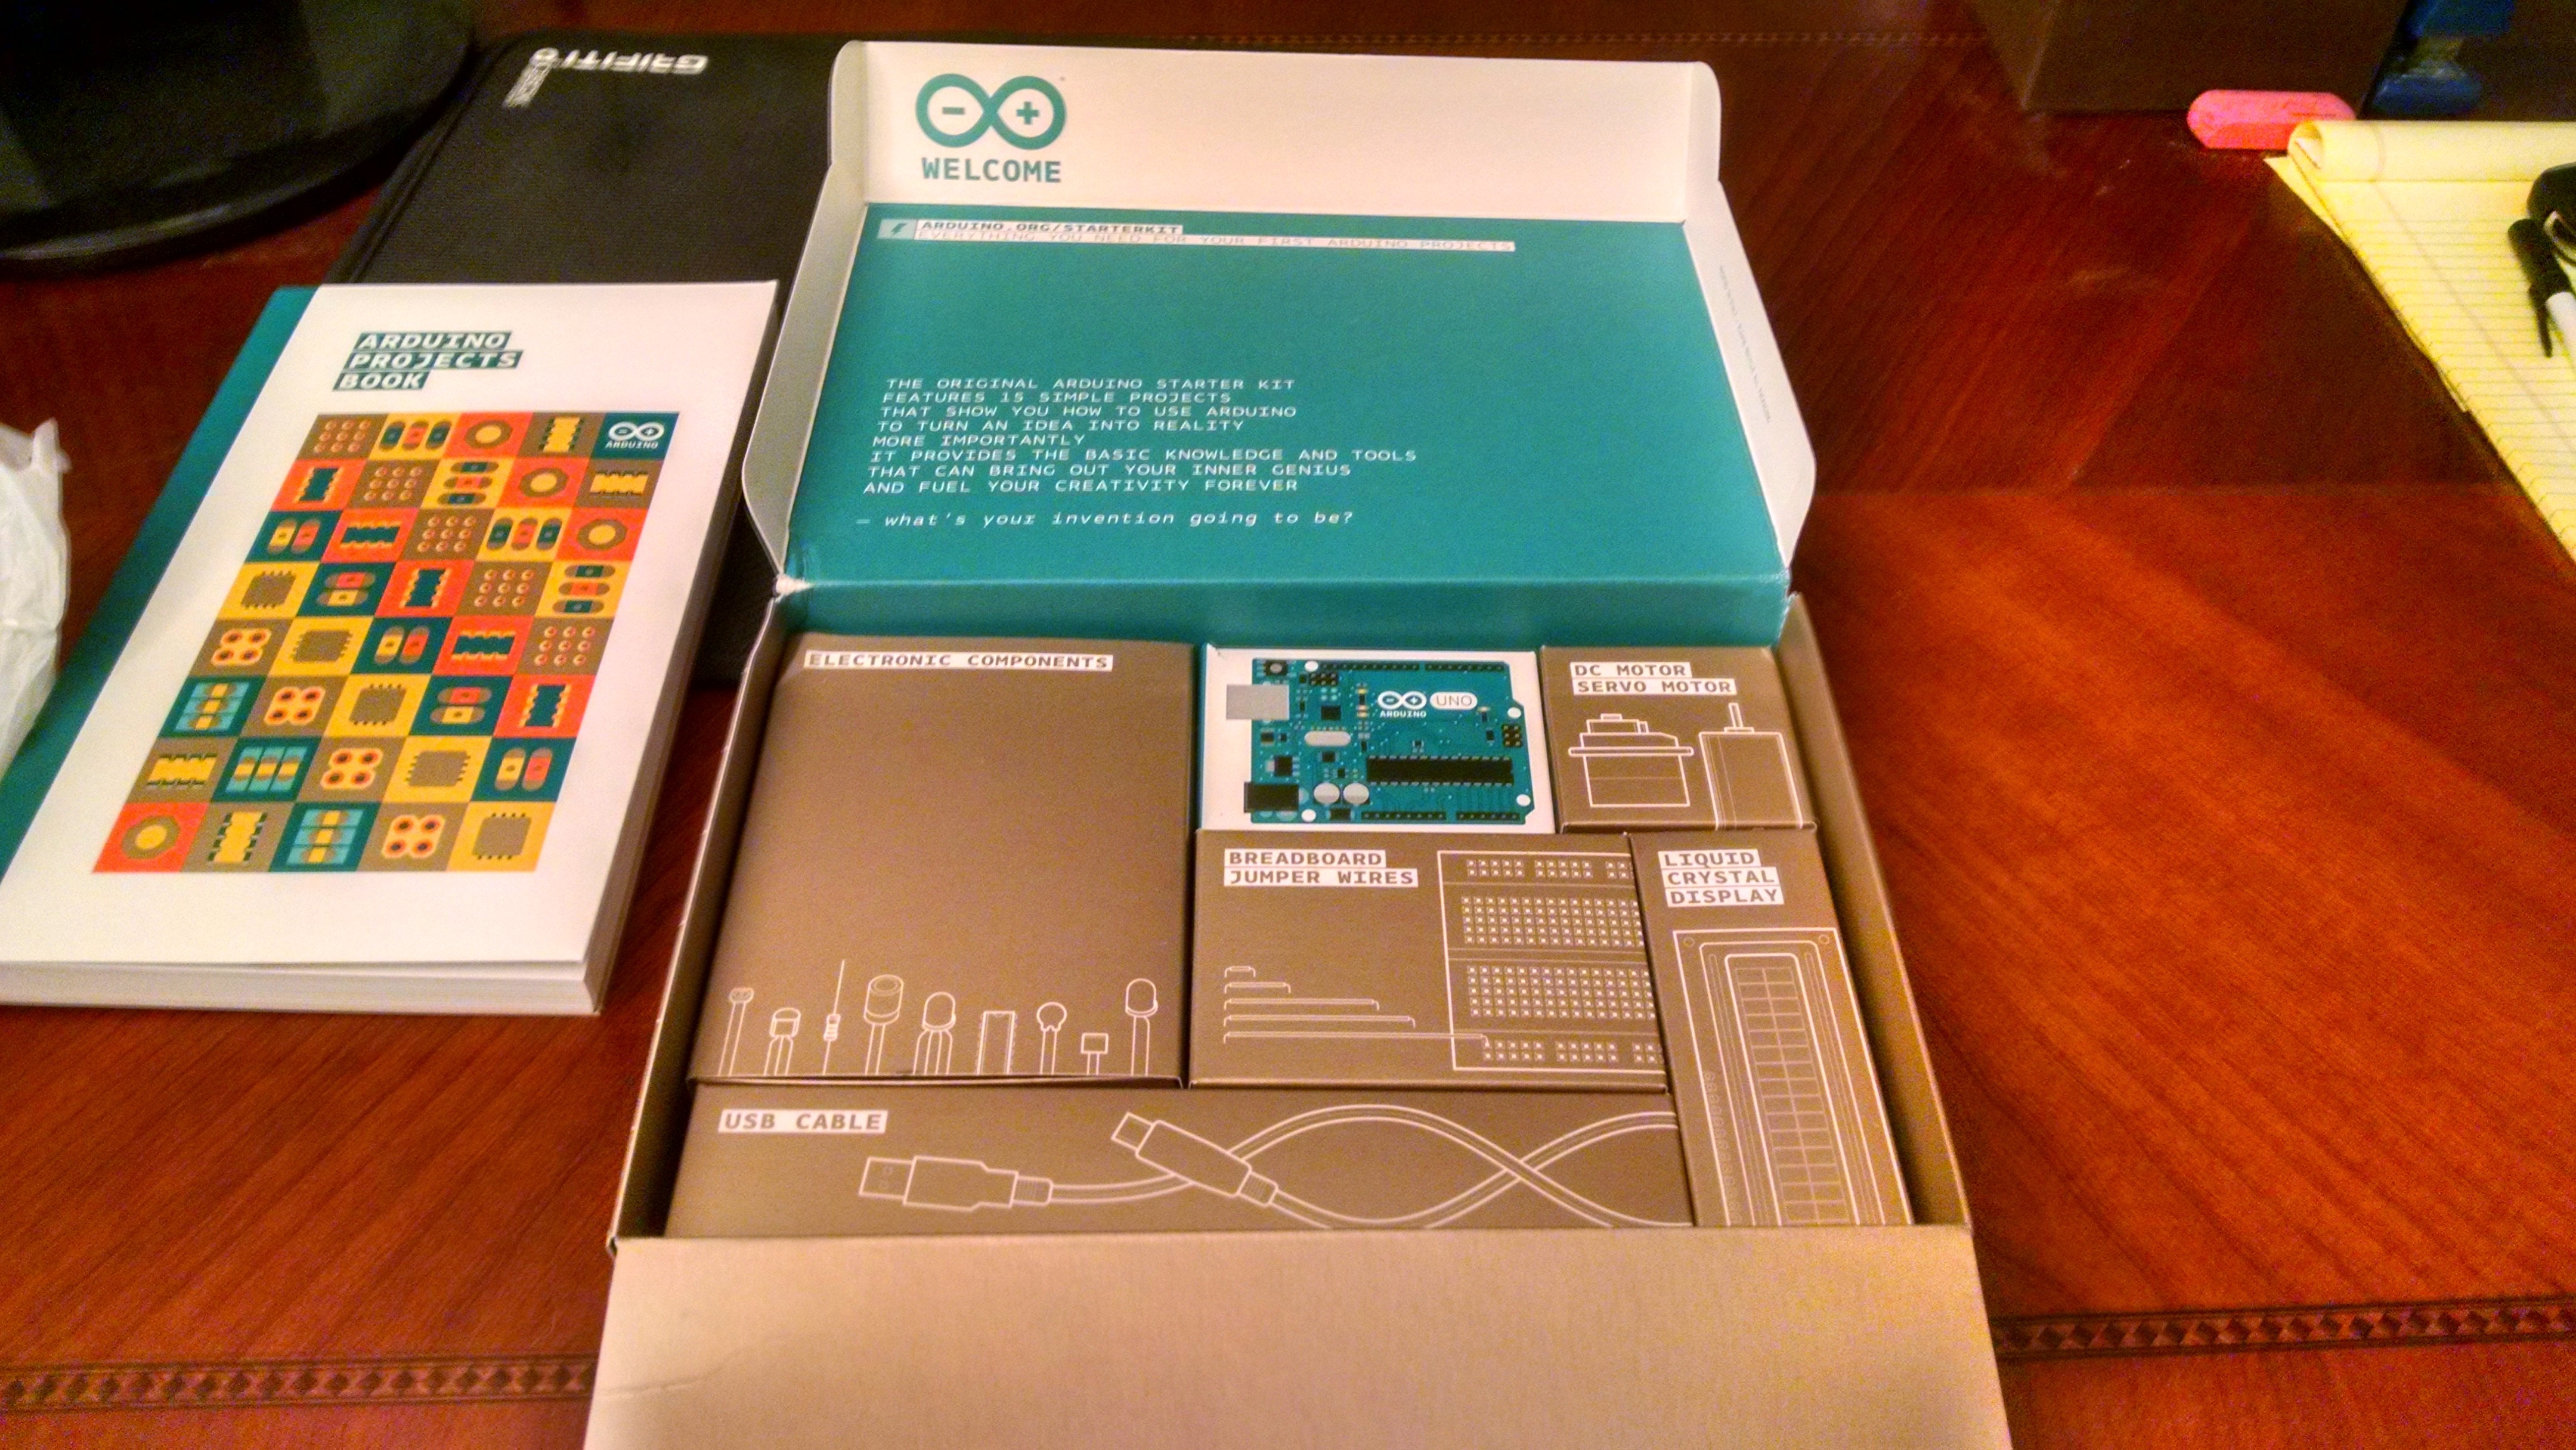
Figure 2: Arduino Starter Kit
There are many different Arduino boards. Inside the starter kit was an Arduino Uno. This is a commonly used board, but this board was not going to work for my purposes. For this project, I needed something that could act as a USB keyboard. The choices were the Arduino Micro, Leonardo, or Due. I decided to use the Arduino Micro due to the small size.
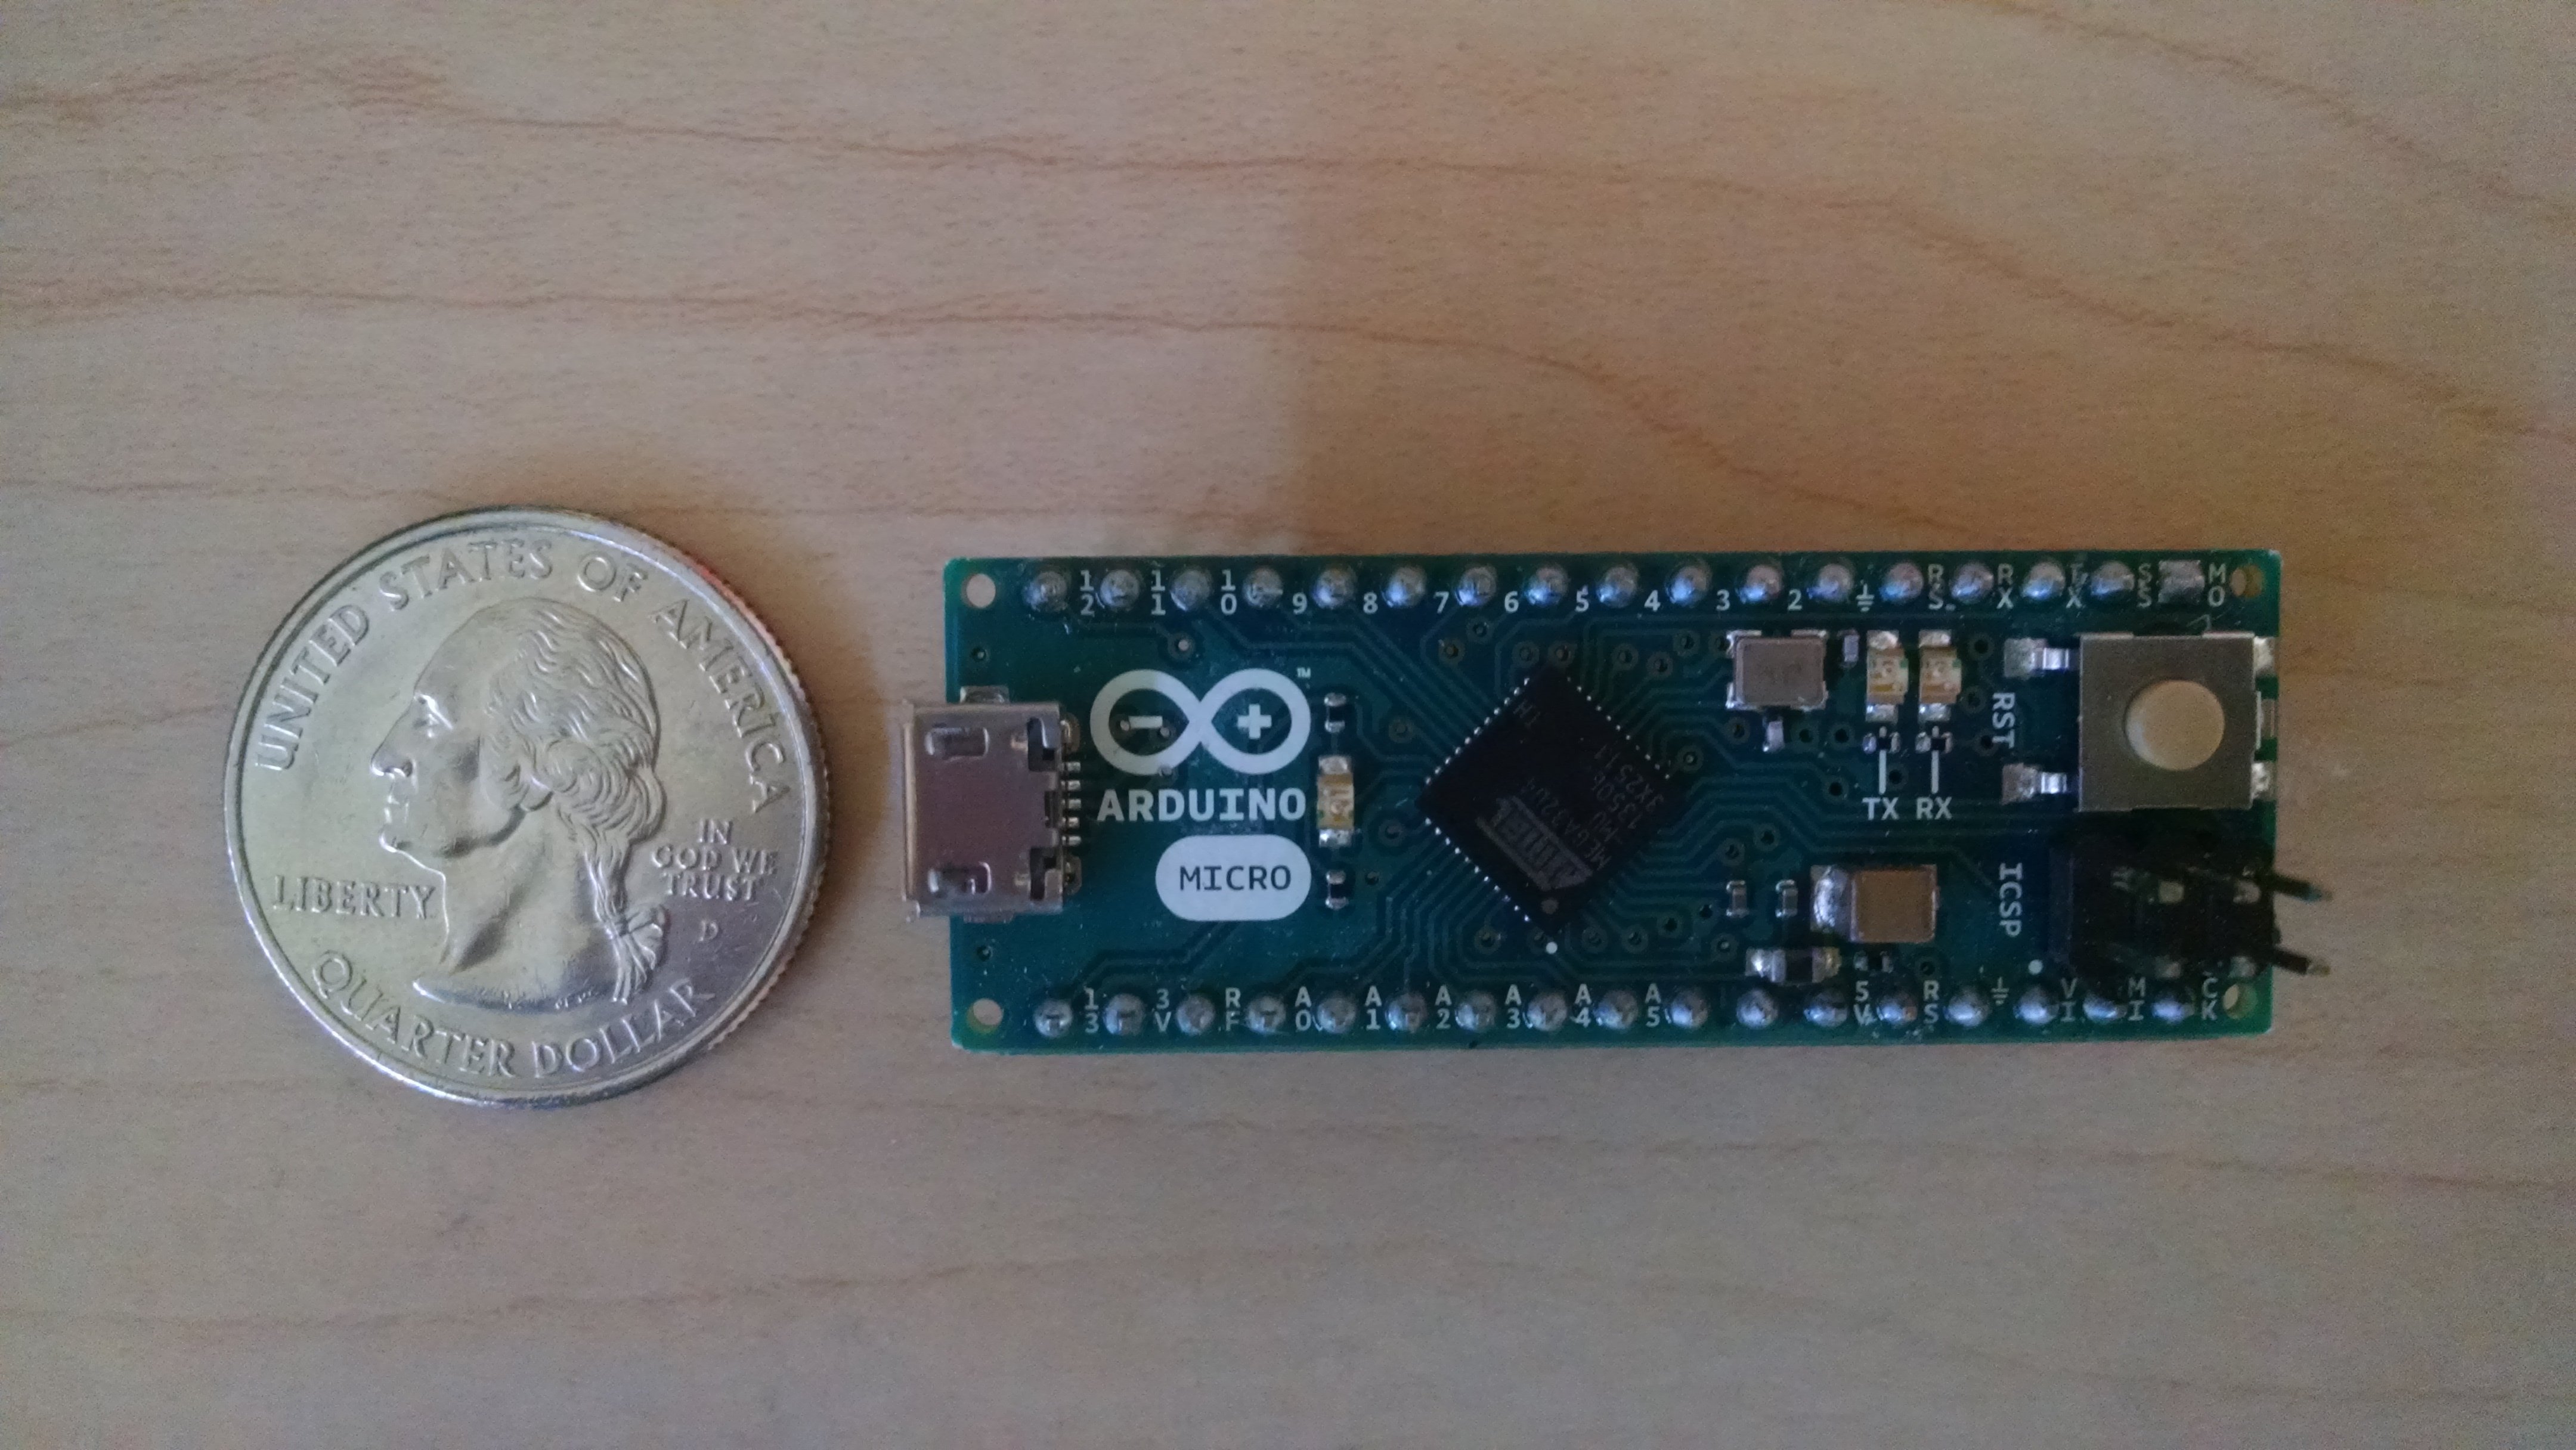
Figure 3: The Arduino Micro.
Reading SNES button inputs
Below is the SNES controller pinout. Note that the "strobe" is also referred to as the "latch".I cut the cord to the SNES controller and attached the wires to jumper wires to use on a breadboard.

Figure 4: SNES pinout. (source)
Here is a table showing which pins on the Arduino to connect to each wire on the controller.
| SNES | Arduino Pin |
|---|---|
| 5V | 5V |
| Ground | Ground |
| Clock | 7 |
| Strobe | 6 |
| Data | 5 |
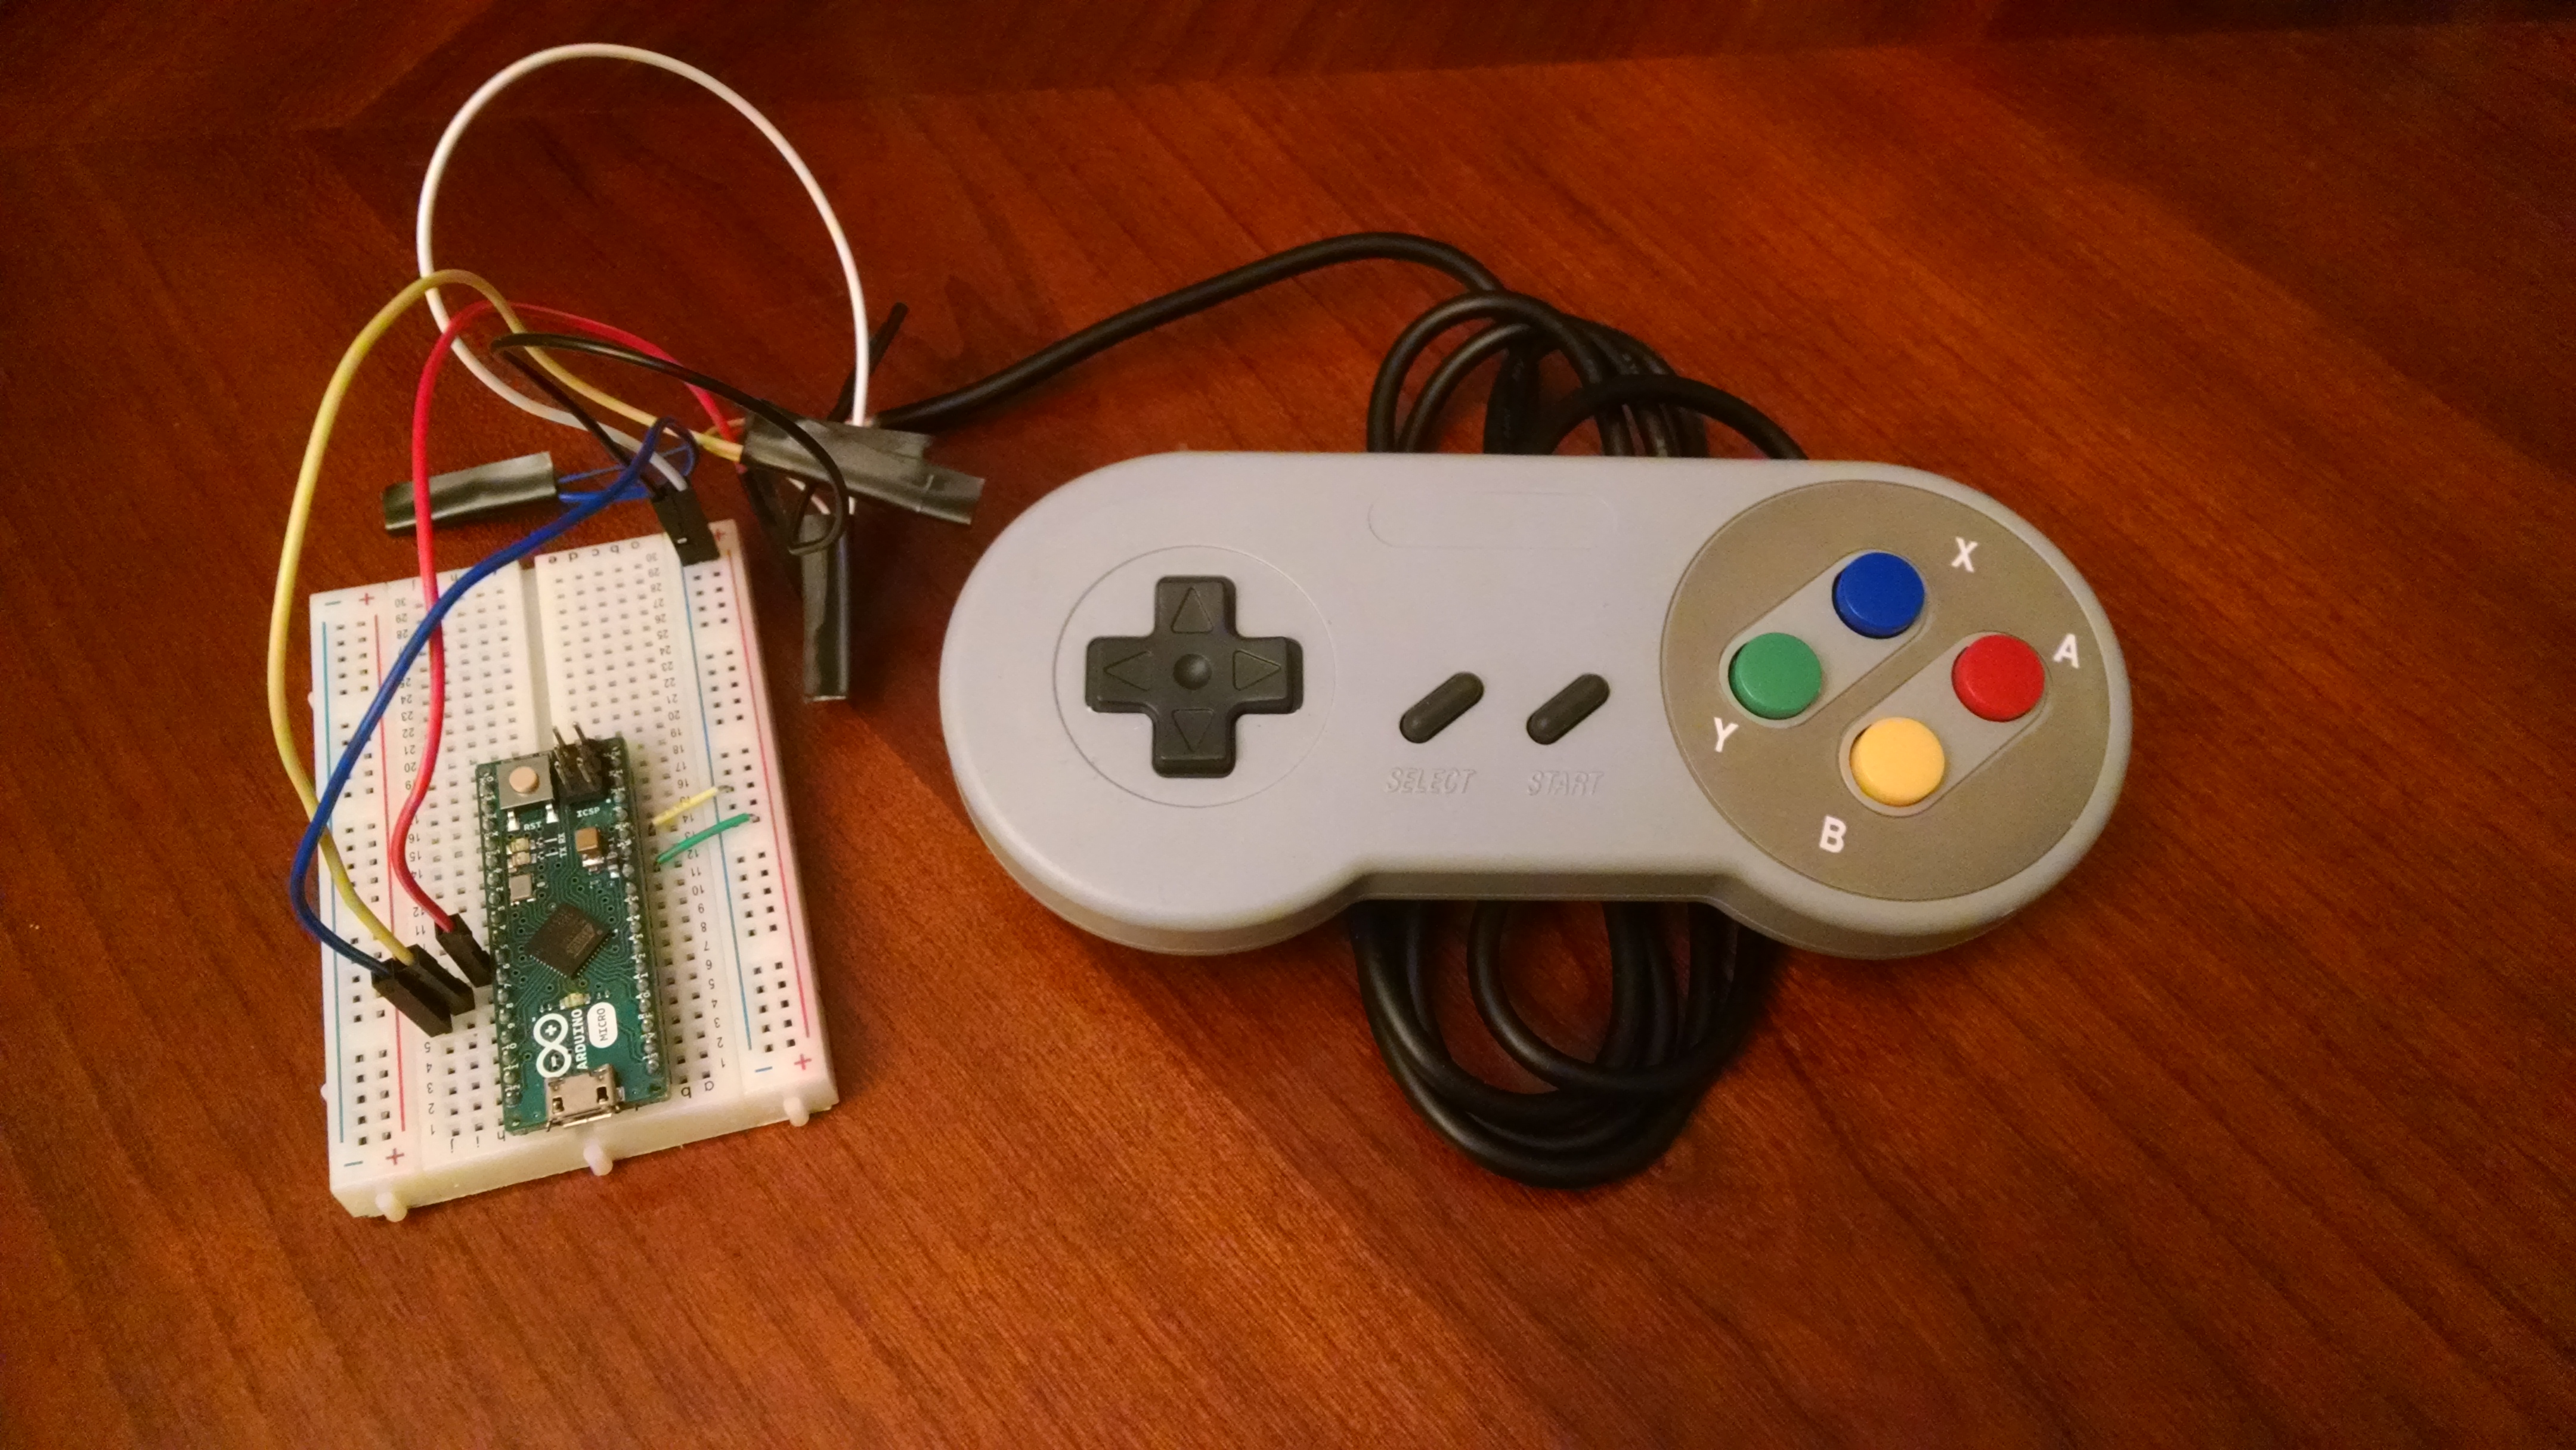
The following figure is the Arduino Micro on a breadboard connected to the SNES controller.
When reading the button inputs, the button order is in the following table.
| Number | Button |
|---|---|
| 1 | B |
| 2 | Y |
| 3 | Select |
| 4 | Start |
| 5 | Up |
| 6 | Down |
| 7 | Left |
| 8 | Right |
| 9 | A |
| 10 | X |
| 11 | L |
| 12 | R |
The code for reading the buttons is here. In order to compile the code you need to install the RF24 library following this guide.
Here is a video showing the controller and the corresponding output.
To be continued…
Now that we can read the buttons from the controller, the next step is to convert those to keyboard inputs. Then we can use a second Arduino and set up wireless communication. Finally we will make the remote power efficient enough to run off of a battery. These will come in later posts so check back later.